1971 Opel Drag Project Progress: A Solid Foundation Built to Win
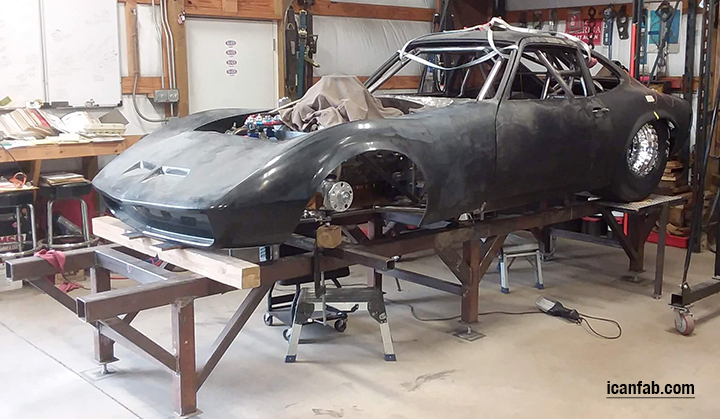
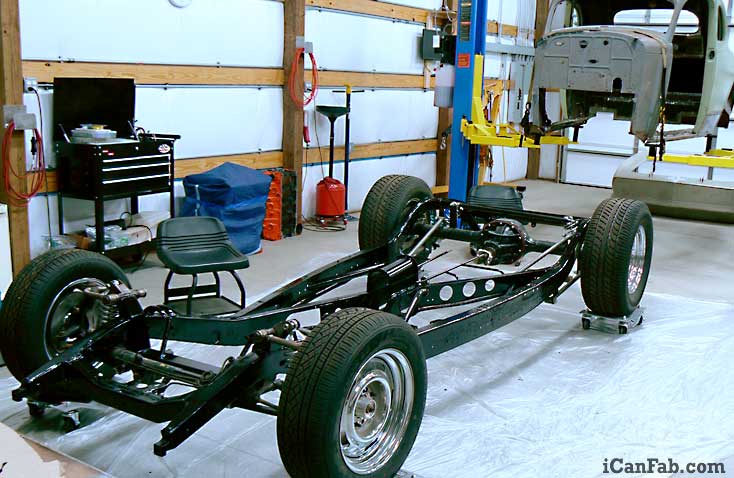
1971 Opel Drag Car Build Update From bare beginnings to a serious chassis taking shape This build has been all […]
1971 Opel Drag Car Build Update From bare beginnings to a serious chassis taking shape This build has been all […]

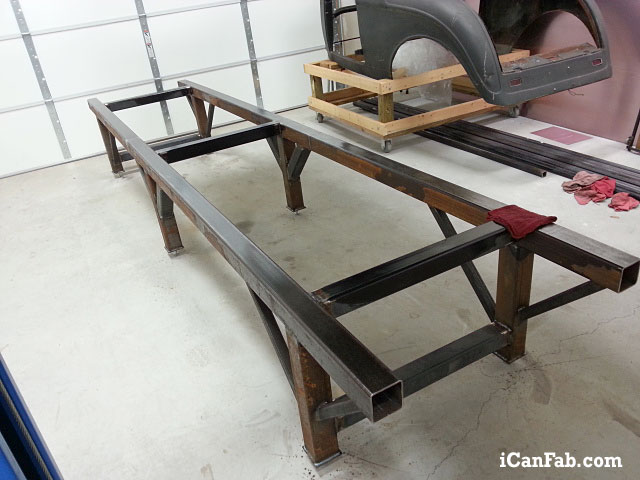
The Vega Hatchback “Blueboy”: A 1977 Chevy Vega drag car built by iCanFab, equipped with a 427 SBC engine, ATI
When it comes to high-performance racing, having the right machine can make all the difference. We specialize in crafting custom
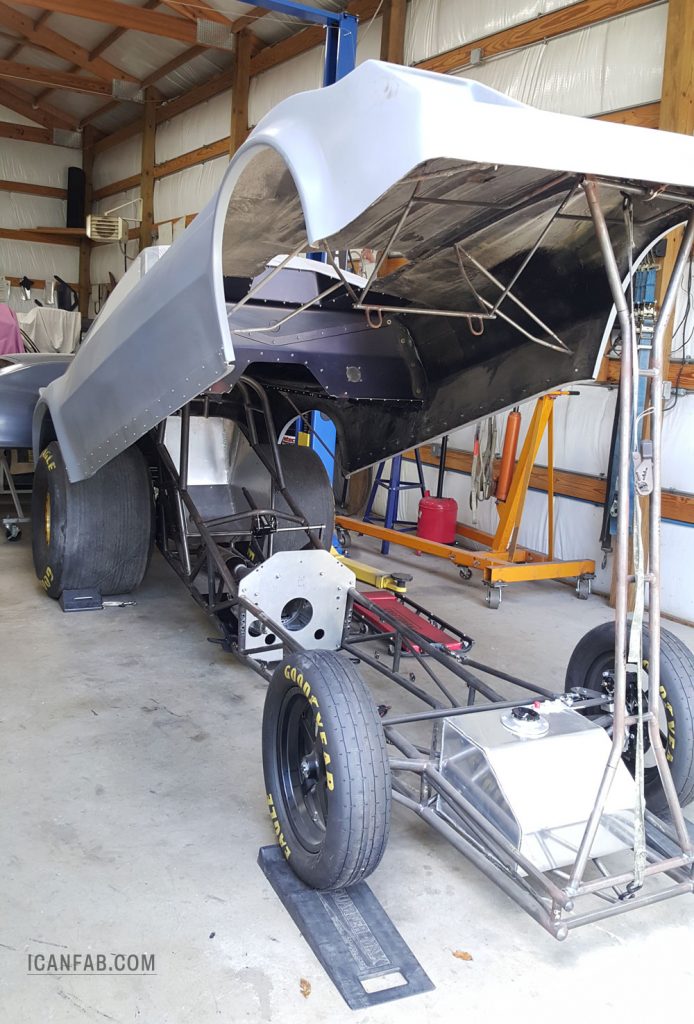
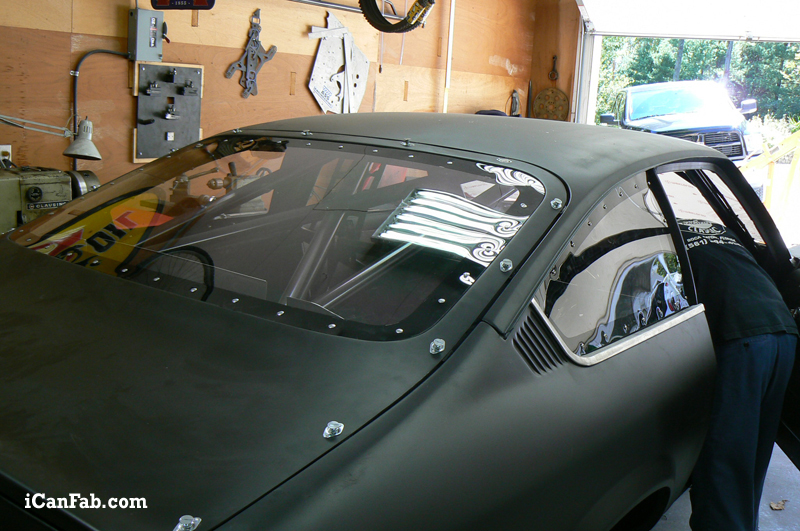
This is a Della Woods Omni body, and sets on a brand new S&W funny car chassis. We added some
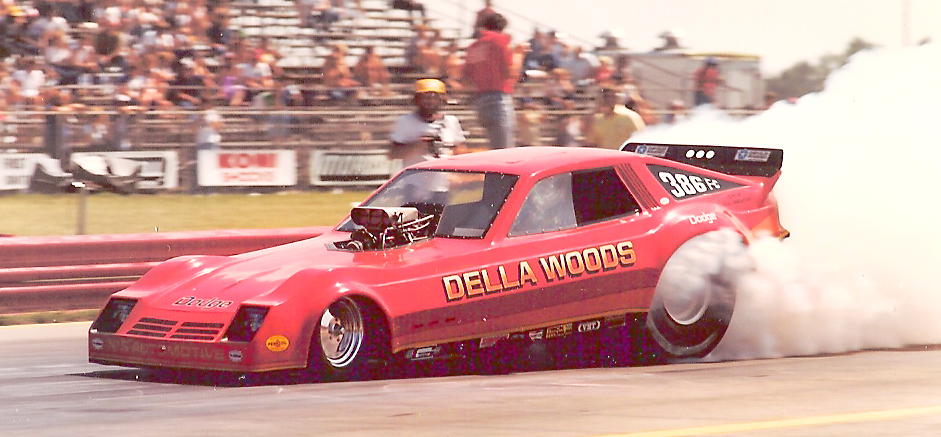
The body of our Nostalgia project is an original Della Woods shell, the same as the Budweiser King, Kenny Bernstein
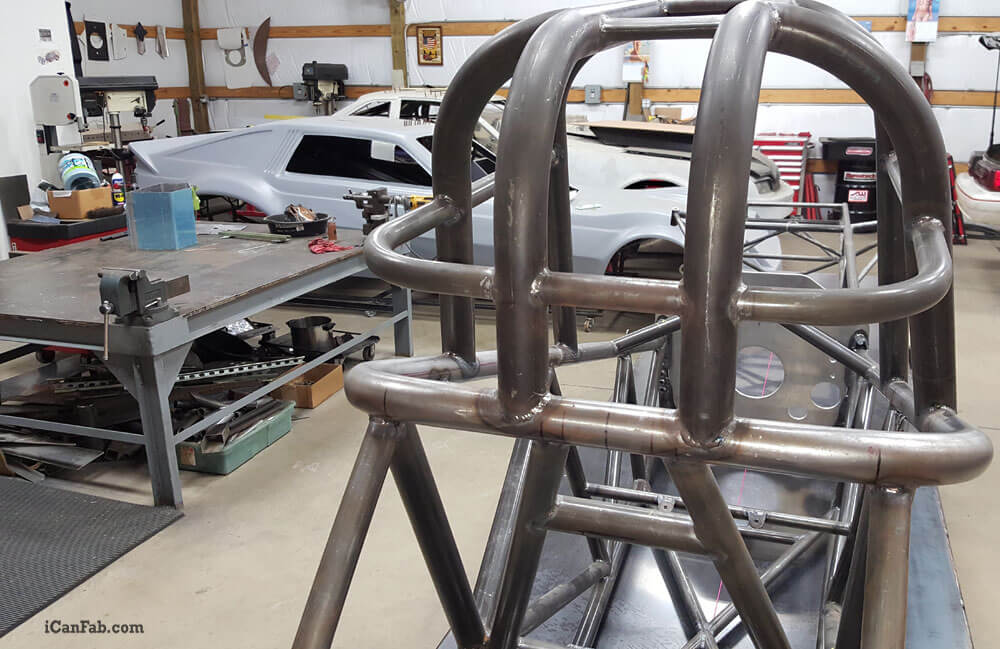
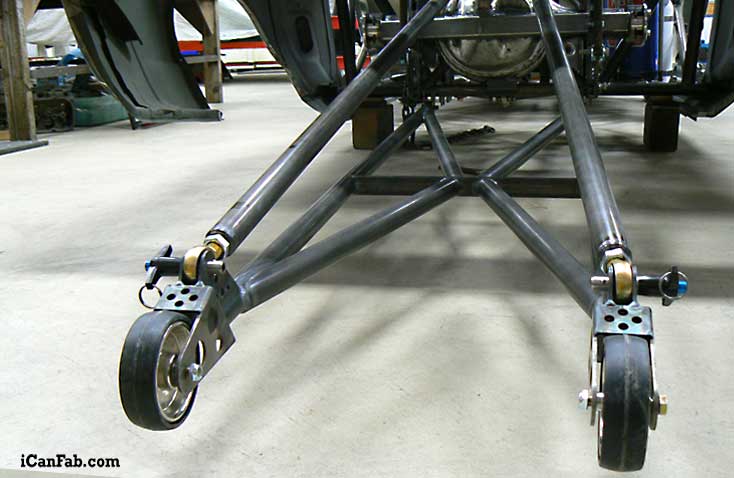
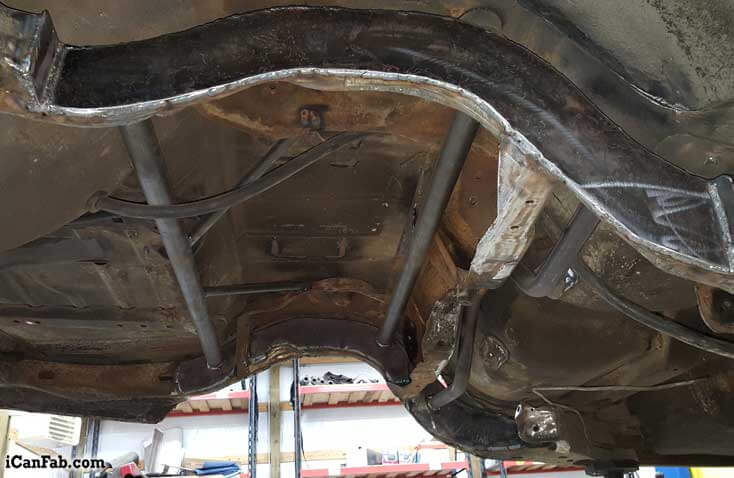
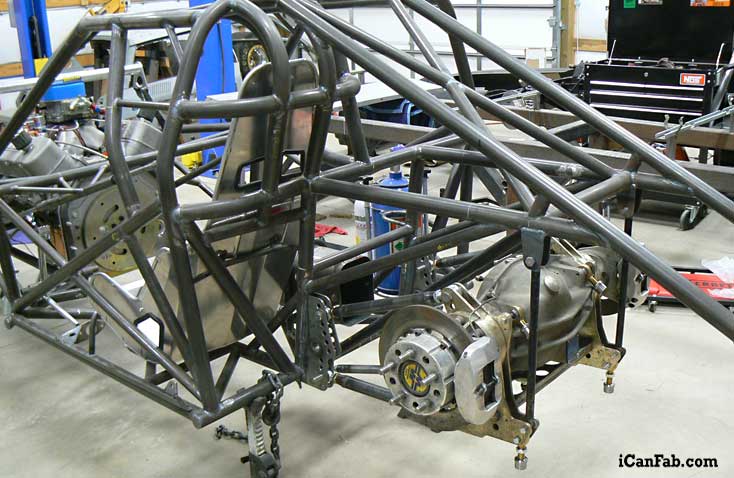
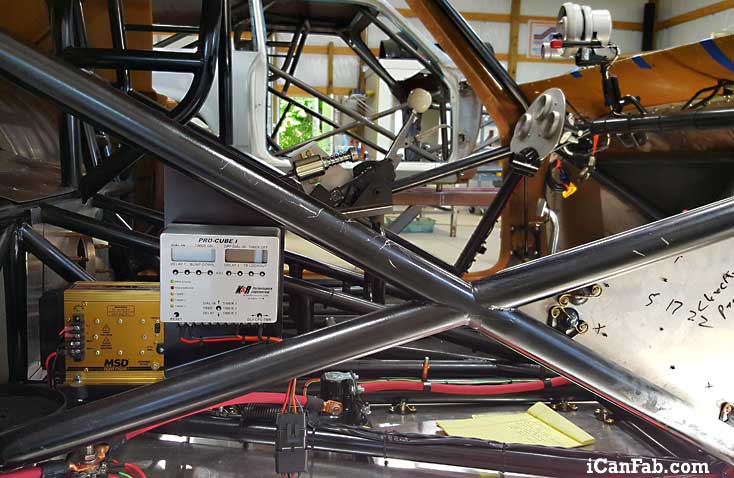
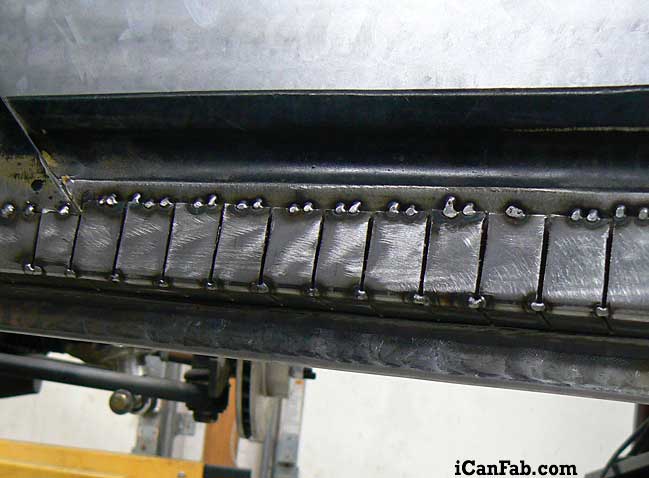
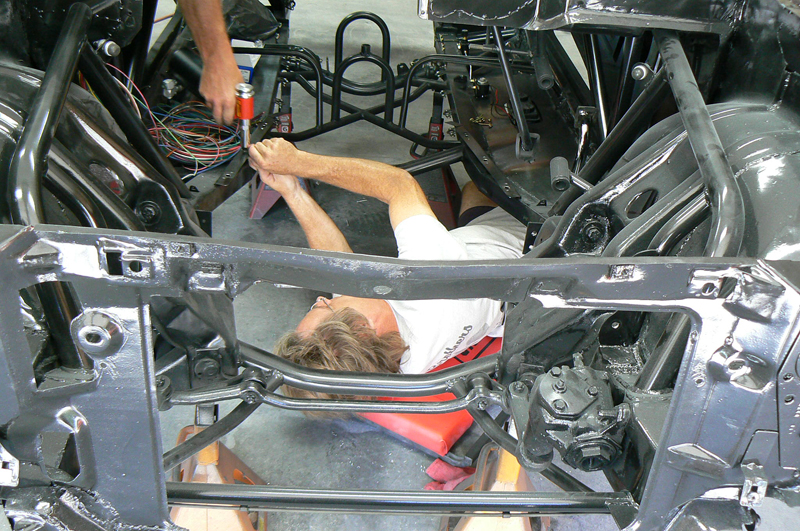
The chassis had enough weld to be unclamped from the Jig table and flipped over to finish off the TIG

Nostalgia Funny Car FOR SALE
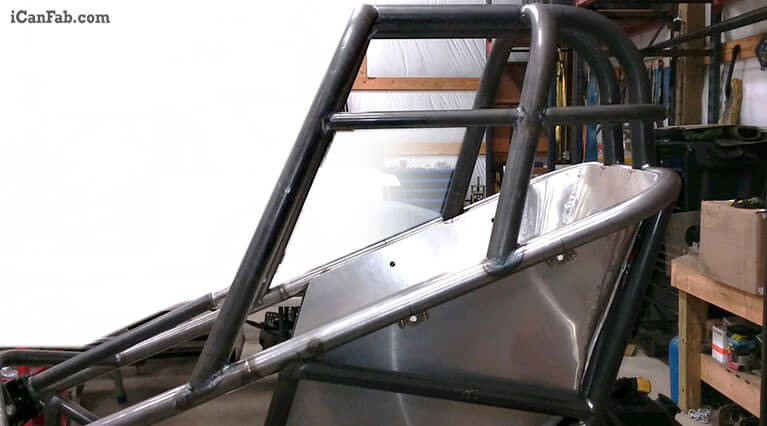
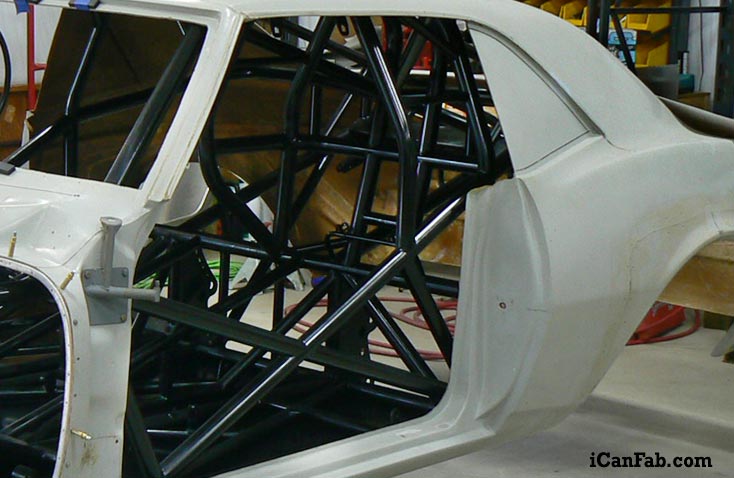
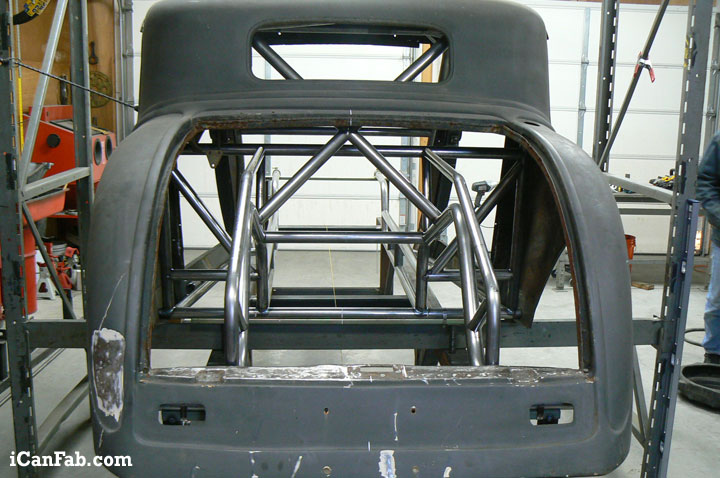
We started this project with an S&W chassis kit. We are trying to keep the funny car cage low. A
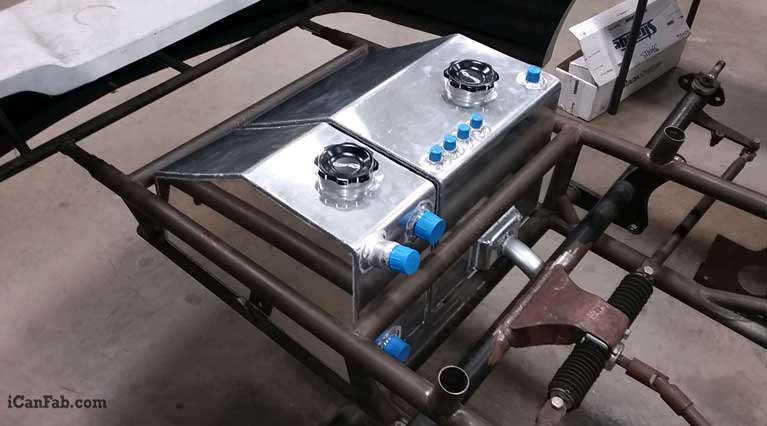
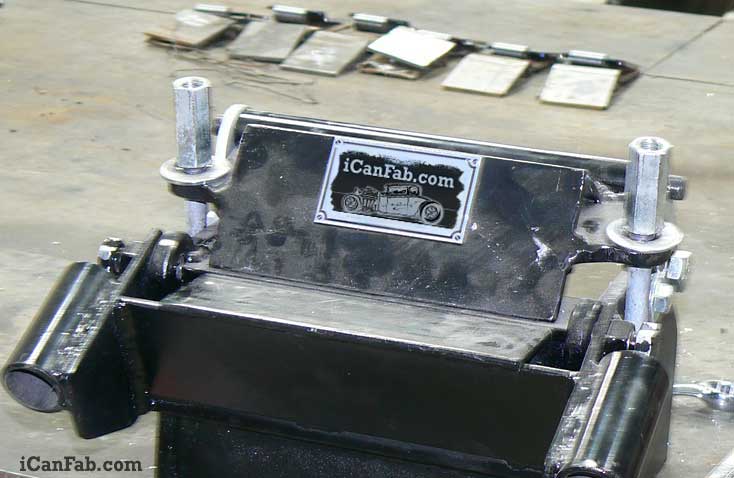
Our Oddy Beretta project would not accept the standard oil tank available. . . so we built a custom one.
Now that the Vega is off the chassis table – it’s time to mock-up everything. Below we installed an S&W
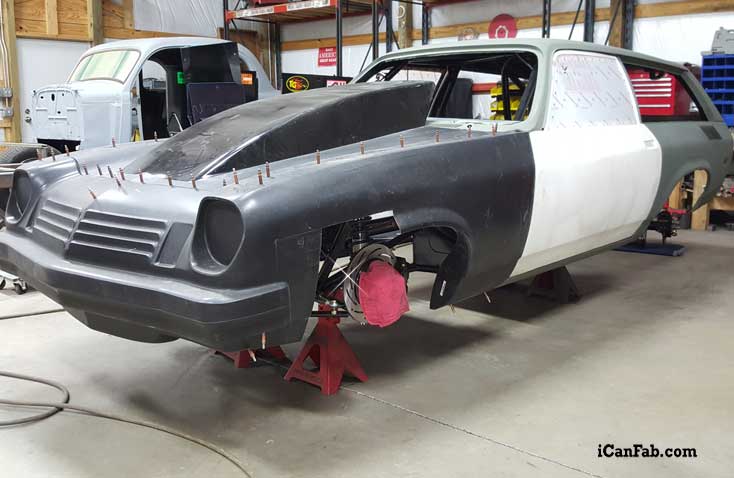
Vega Wagon Chassis Painted. Firewall and body extensions completed — can’t wait to see assembled. Dsuz tabs placed and springs
The G-body designation was originally used for 1969–1972 Pontiac Grand Prix and 1970–1972 Chevrolet Monte Carlo personal luxury coupes. The
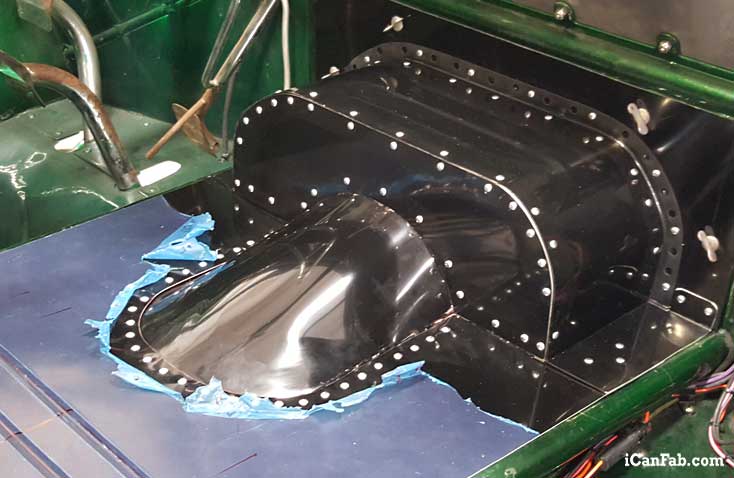
This project showed up missing the trans tunnel cover but had the Dzus tabs mounted. Double frame rails were high
The vega wagon S&W chrome moly chassis came off the jig table for the final TIG weld up. Currently we are
We are in the final stages of this “daily driver” build. Currently we are trying to find a body shop to bondo
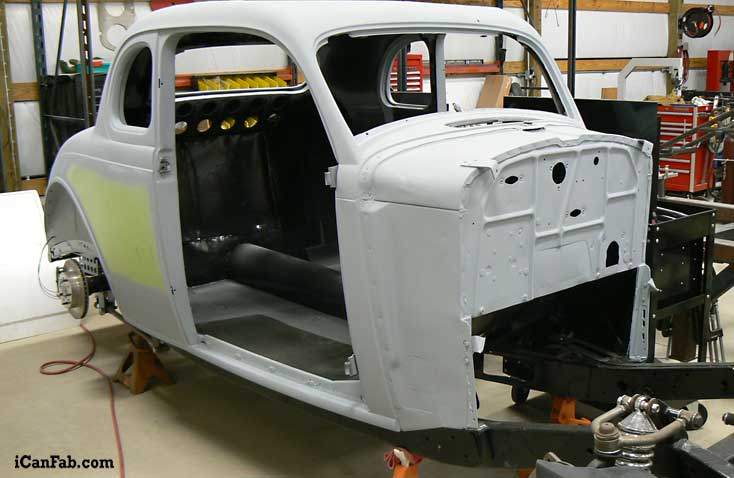
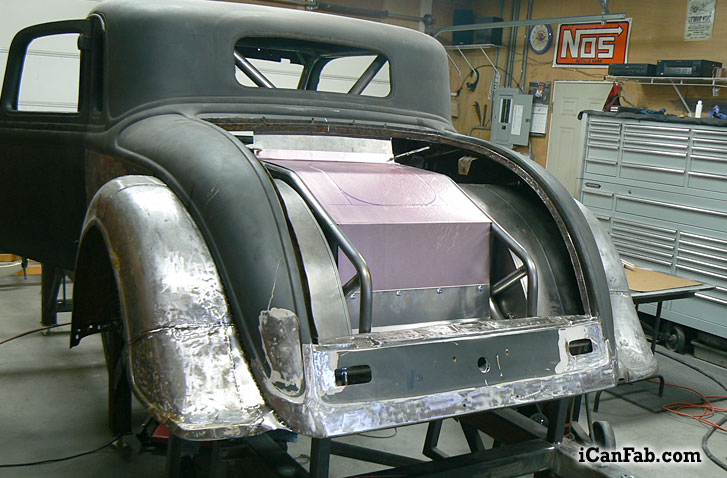
The ’36 Coupe sheet metal fab work is nearing completion. Time to tackle the dreaded . . . hole in
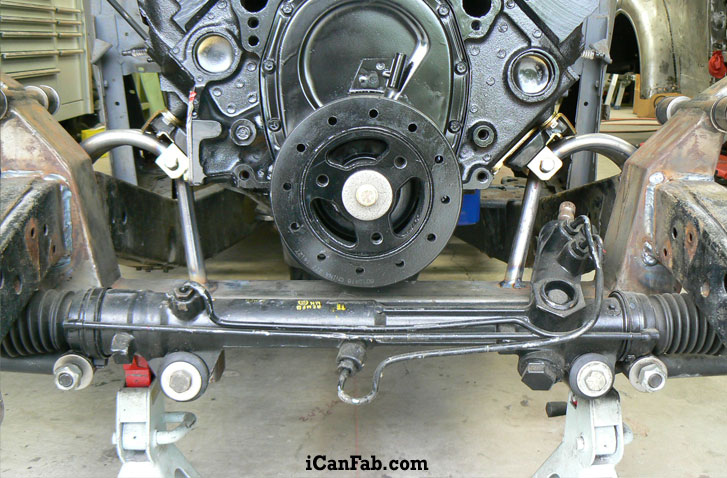
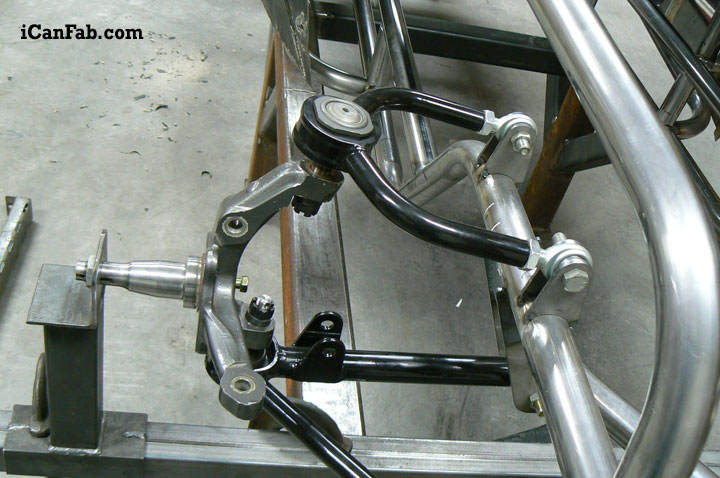
We hear from many classic car owners in need of custom built performance parts. The photo below shows the new
The boys in the shop have been chipping away at the ’36 Coupe project – mostly doing the stuff no one will
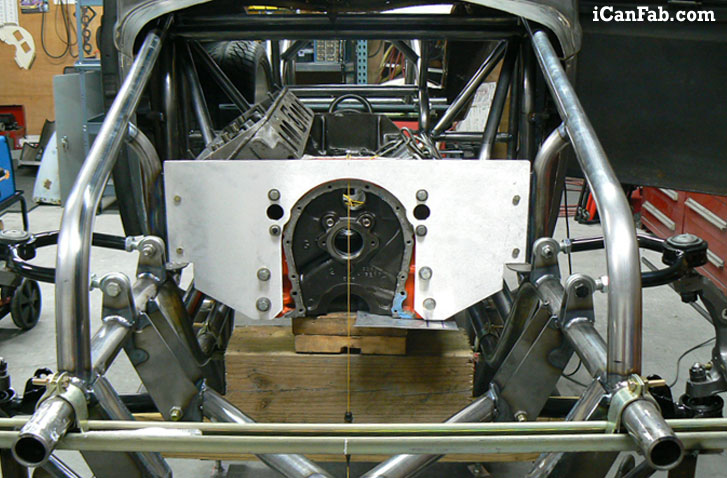
The firewall is getting close to being completed – lots of welding and grinding have gone into this one. Just
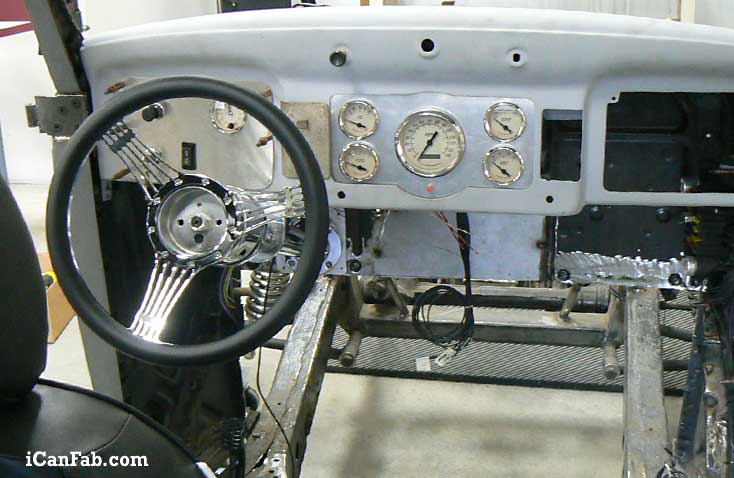
This 1936 Plymouth Coupe originally came with just a round cluster in the center of the dash. Luckily the car
Before the body was placed back on – I had to make and TIG weld the drivers floor. The center “X”

These are floor pans. These sheet metal floor pans are not from a parts store. They are custom made for
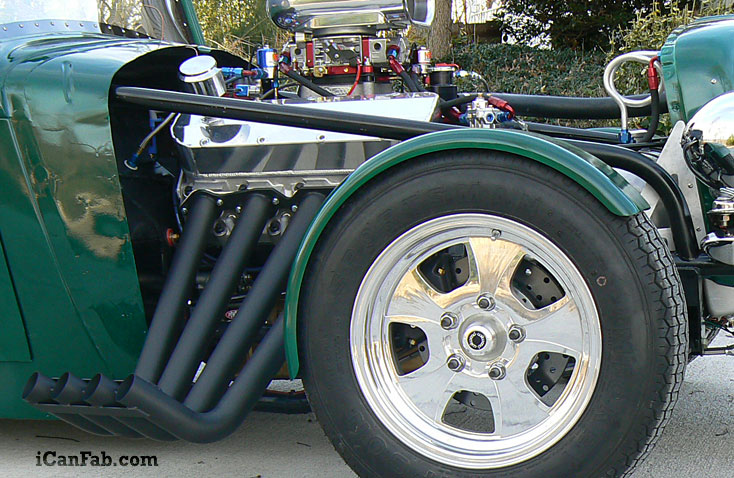
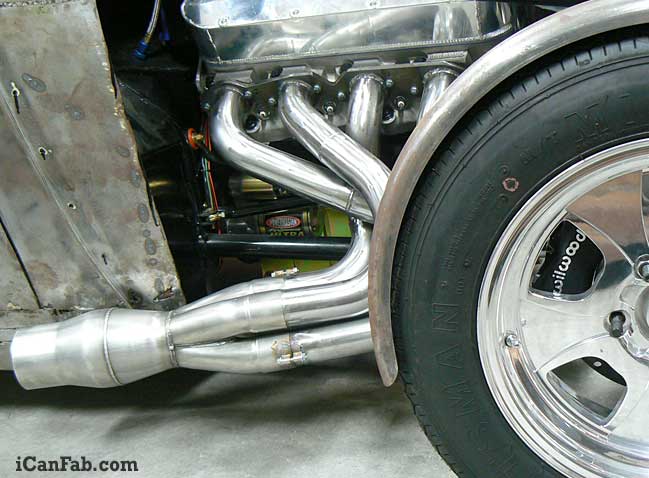
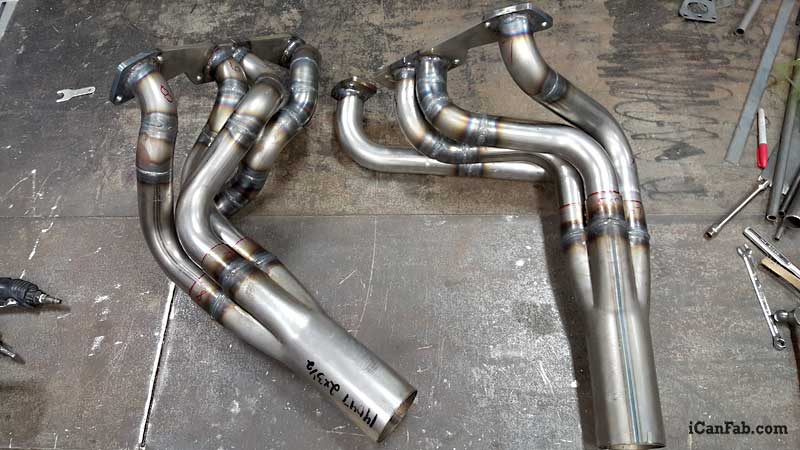
Below are the custom exhaust headers we built for the 33 Plymouth Coupe. We just got them back from Cerakote
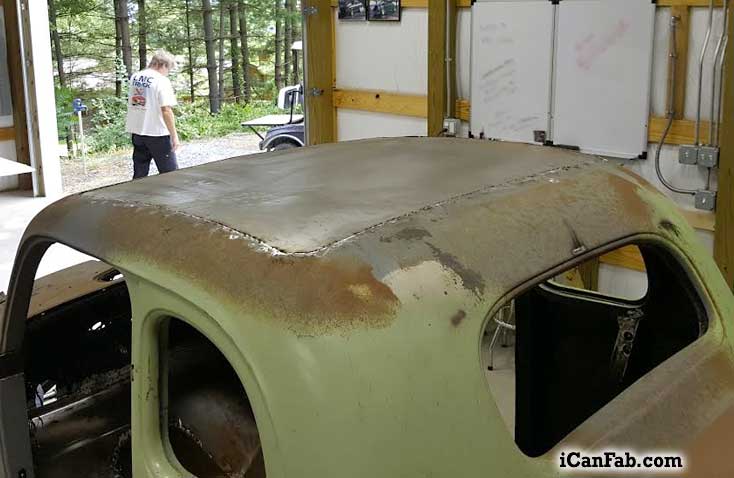
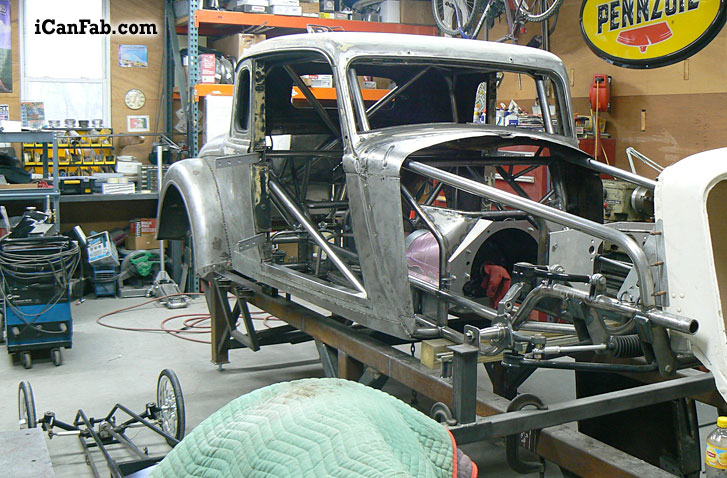
At 79 years old this 5-window coupe needed some “reconstructive surgery” when we first brought it to the shop. Like
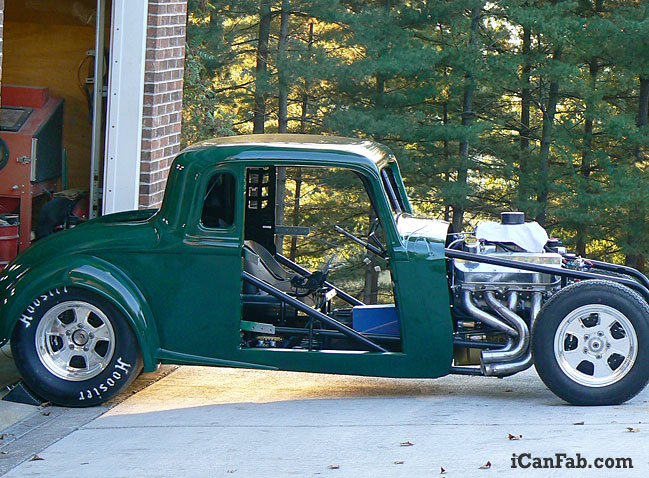
A sneak peak of the Coupe as we start to put the car back together. This custom 1933 Plymouth 5-window
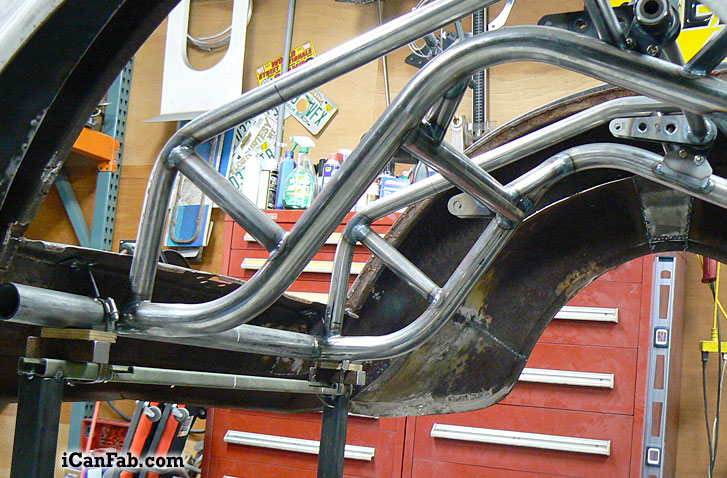
All good chassis fabricators knows that making each element look good and fit within the parameters of the project can
The side canards have been tacked in place on this project. Once they are finalized they will mimic the curves
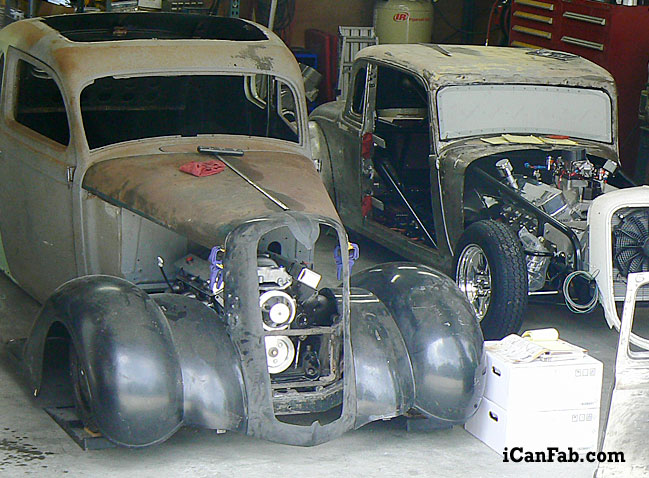
Both of the Plymouth Coupe projects are progressing. FOR SALE
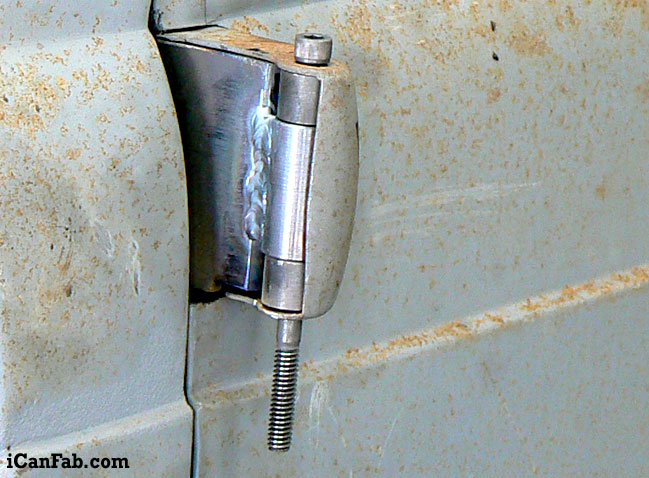
The forward exposed door hinge on the this 1936 Plymouth is not a good design, and nobody sells a door
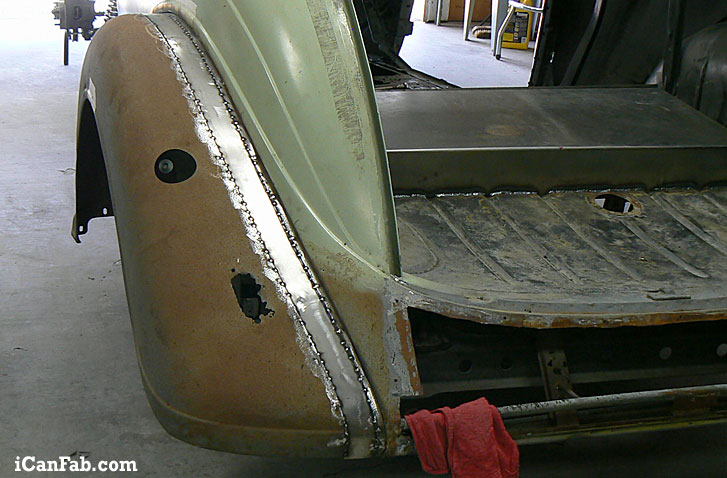
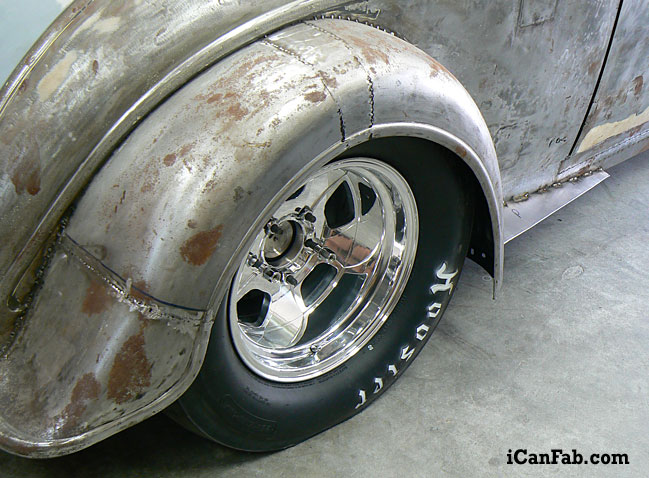
Anyone restoring a 1936 Plymouth Coupe can buy a fiberglass fender online. For this coupe that would not be the
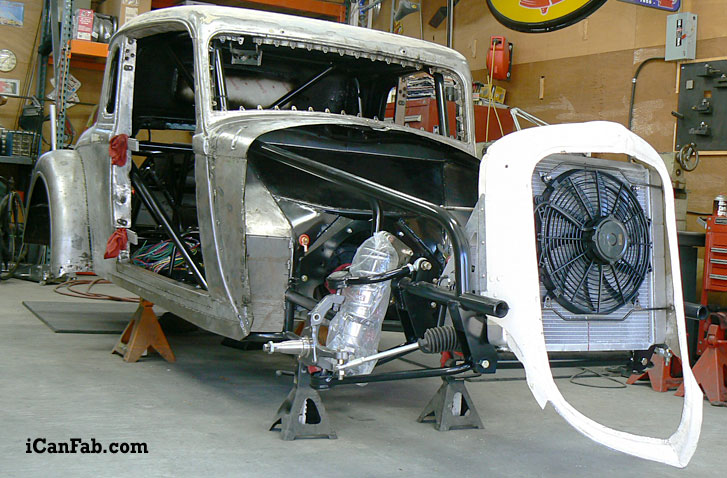
We started this 1936 Plymouth 5-window coupe project about 2 weeks ago. We found ourselves asking . . .What are
The final “hit list” on this 33 Coupe is getting smaller every week. We started this 1933 Plymouth Coupe project
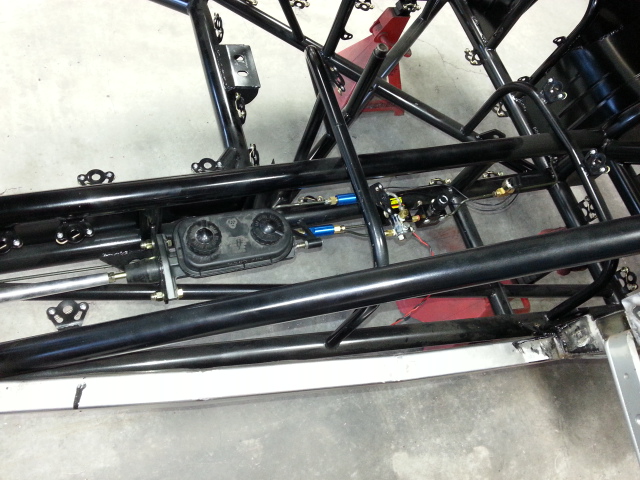
Just finished installing all the brake components; including the master cylinder, residual valves, line lock, proportioning valve and brake light
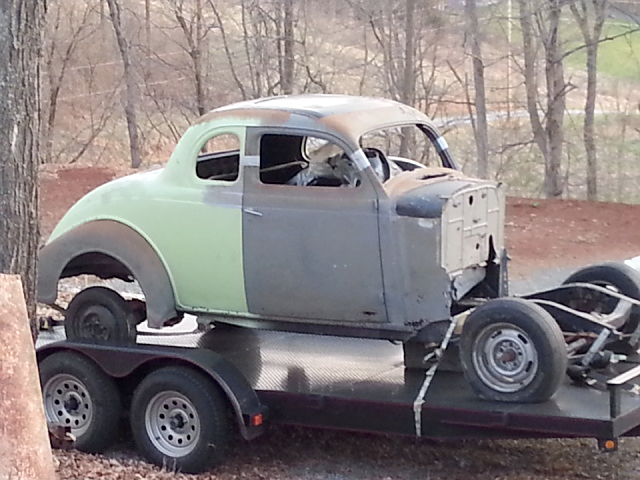
(August 21, 2025) UPDATE: (March 24, 2015) Monday we hauled this 36 coupe back from Florida. If you have
We are in the final stages of mocking up the car, modifying suicide hidden door hinges, attaching grill shell mounts,
Just a few months ago — this car was just a shell and a plumb bob. WE have done some
There are many factors to consider when building a hot rod or any street car by yourself. First of all,
This 1933 Plymouth Coupe project will be a multipurpose Hot Rod once complete. The project photos below document the chassis
The Nostalgia Chassis shipment finally arrived. The chassis kit arrived in a few big boxes and included a pair of
The main cage is done. FOR SALE
Cutting, bending and welding — it’s all good! Everything in a custom street car needs fabrication – off the shelf
UPS arrived – and we received important parts to finally start the car. It should be today. As you see
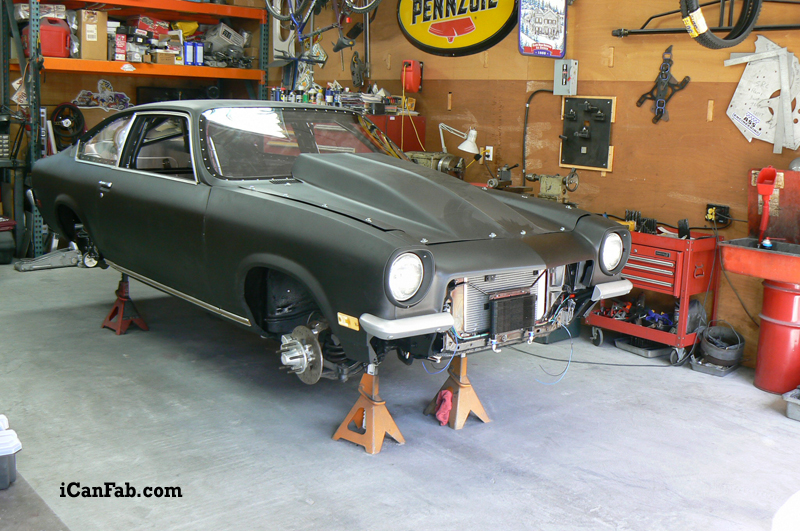
This 72 Vega will be in the DOT (1/4 Mile) Sportsman Class at Bristol Here is an update on the
We are working hard to get this 72 chevy vega ready for the event. The entire chassis is painted and
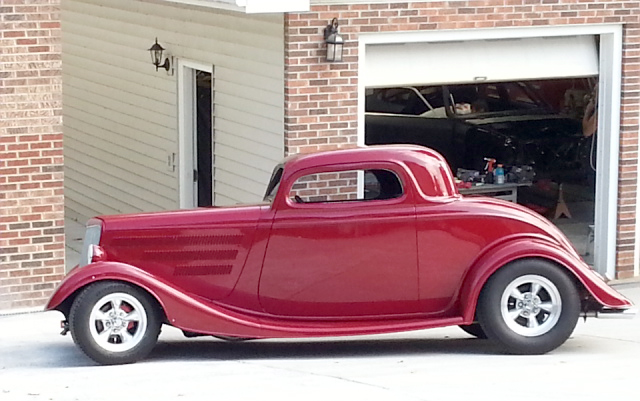
This beauty stopped by the shop this morning for a coffee. It makes us smile when we see Hot Rods
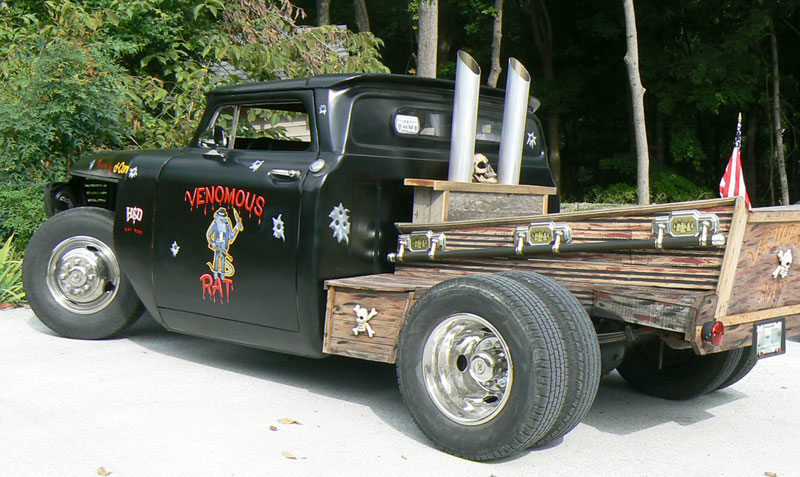
Many unique Hot Rods and Rat Rods are being built in this area of the country. You may have seen
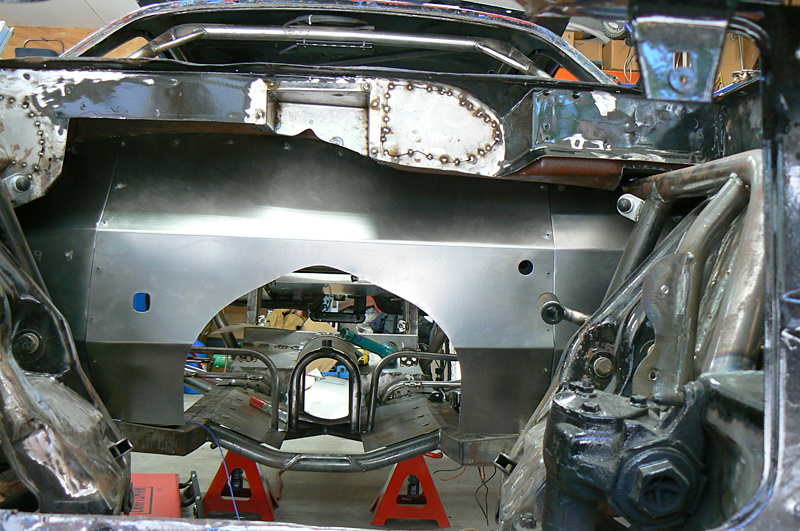
Working on the ’72 Vega installing the steel firewall. From poster board to aluminum template to final sheet metal firewall
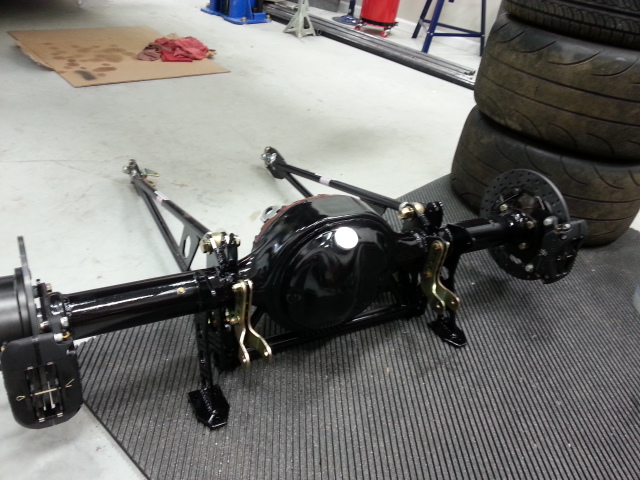
Another Vega component — off the list. Wildwood disc breaks, freshened the chunk, narrowed the rear, cleaned it up.